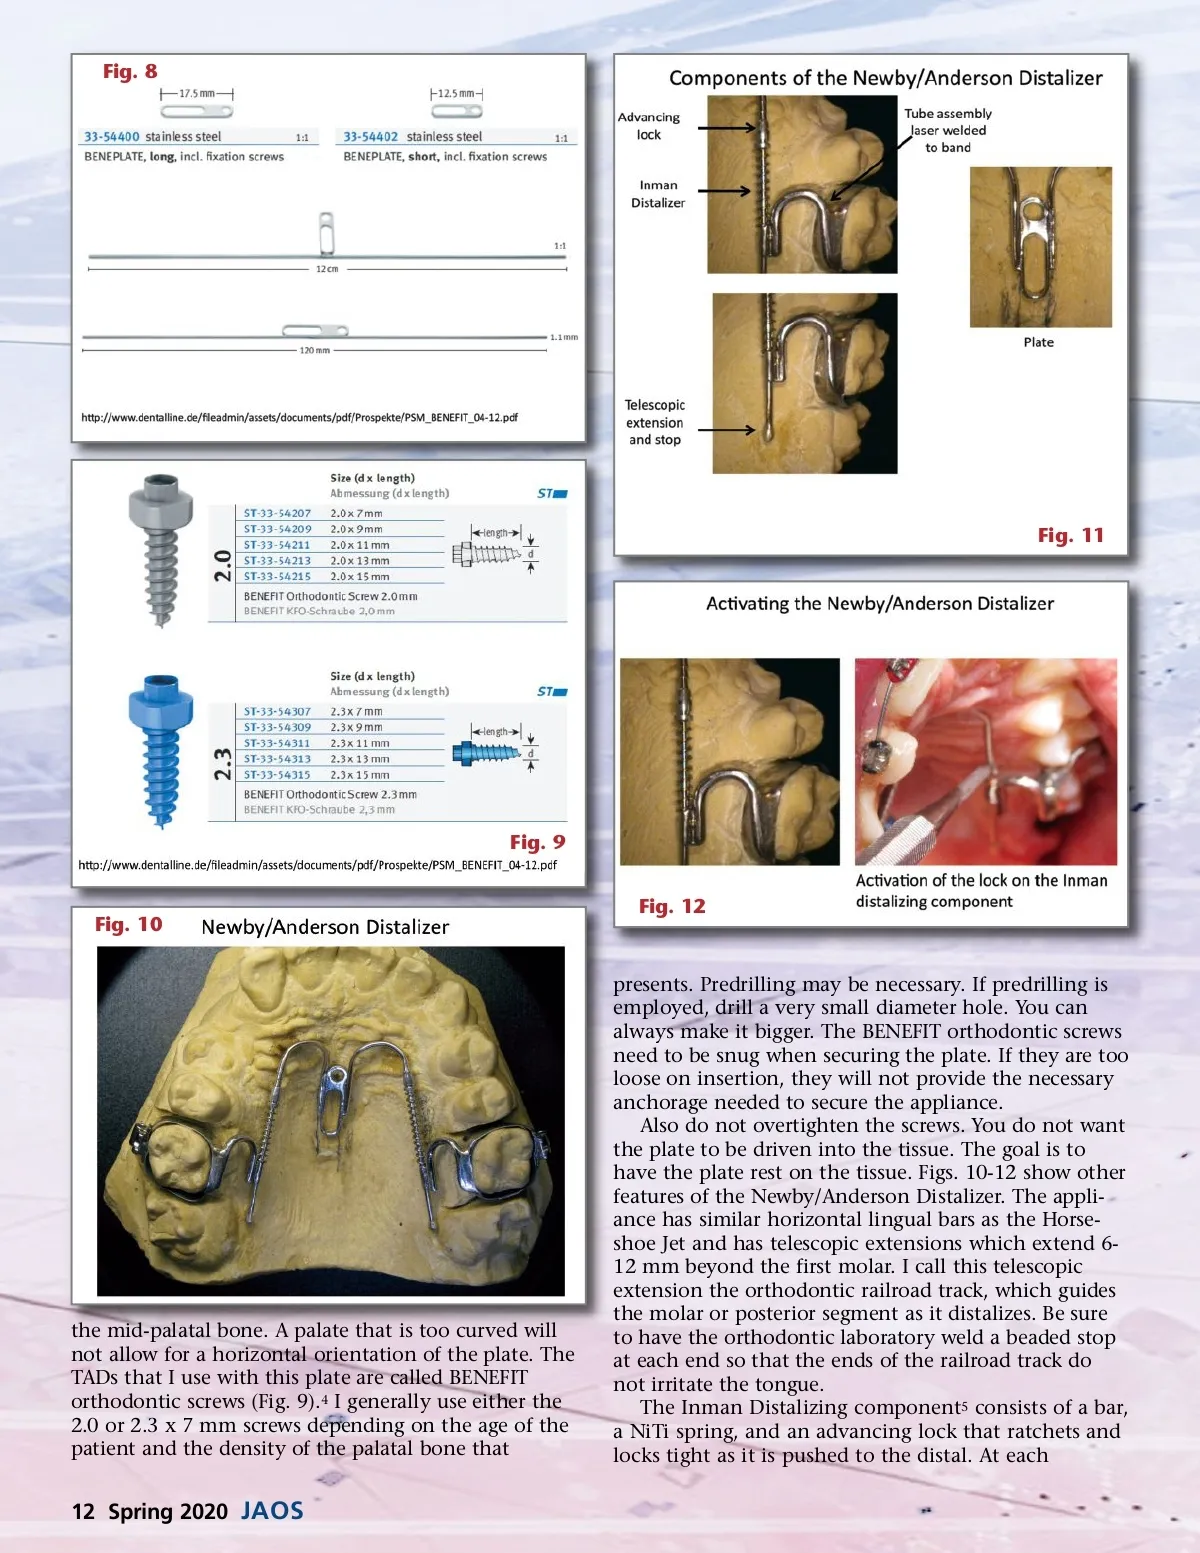
Fig. 8 Fig. 11 Fig. 9 Fig. 12 Fig. 10 the mid-palatal bone. A palate that is too curved will not allow for a horizontal orientation of the plate. The TADs that I use with this plate are called BENEFIT orthodontic screws (Fig. 9). 4 I generally use either the 2.0 or 2.3 x 7 mm screws depending on the age of the patient and the density of the palatal bone that presents. Predrilling may be necessary. If predrilling is employed, drill a very small diameter hole. You can always make it bigger. The BENEFIT orthodontic screws need to be snug when securing the plate. If they are too loose on insertion, they will not provide the necessary anchorage needed to secure the appliance. Also do not overtighten the screws. You do not want the plate to be driven into the tissue. The goal is to have the plate rest on the tissue. Figs. 10-12 show other features of the Newby/Anderson Distalizer. The appli-ance has similar horizontal lingual bars as the Horse-shoe Jet and has telescopic extensions which extend 6-12 mm beyond the first molar. I call this telescopic extension the orthodontic railroad track, which guides the molar or posterior segment as it distalizes. Be sure to have the orthodontic laboratory weld a beaded stop at each end so that the ends of the railroad track do not irritate the tongue. The Inman Distalizing component 5 consists of a bar, a NiTi spring, and an advancing lock that ratchets and locks tight as it is pushed to the distal. At each 12 Spring 2020 JAOS
Journal of the American Orthodontic Society Spring 2020: Page 12