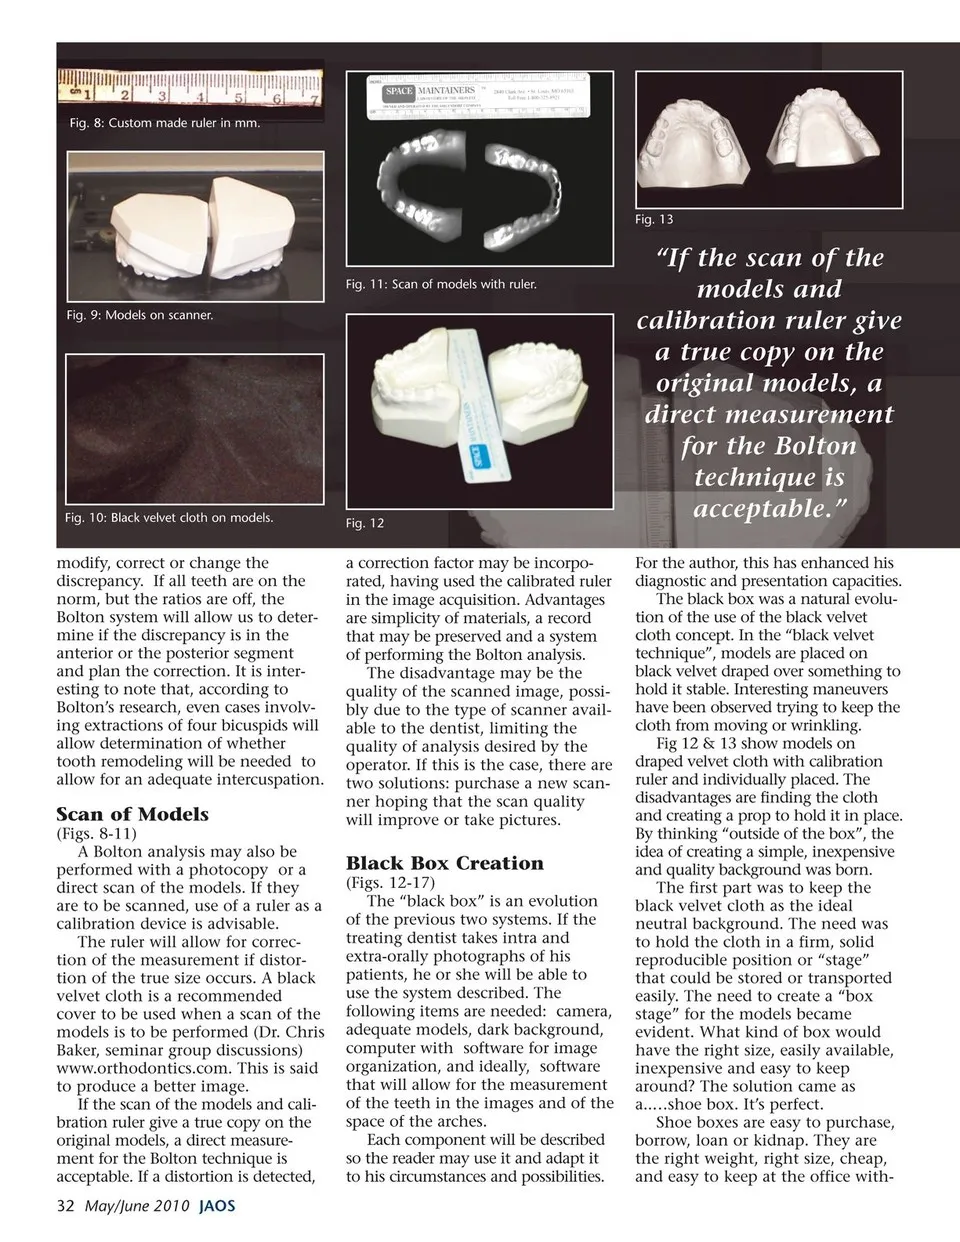
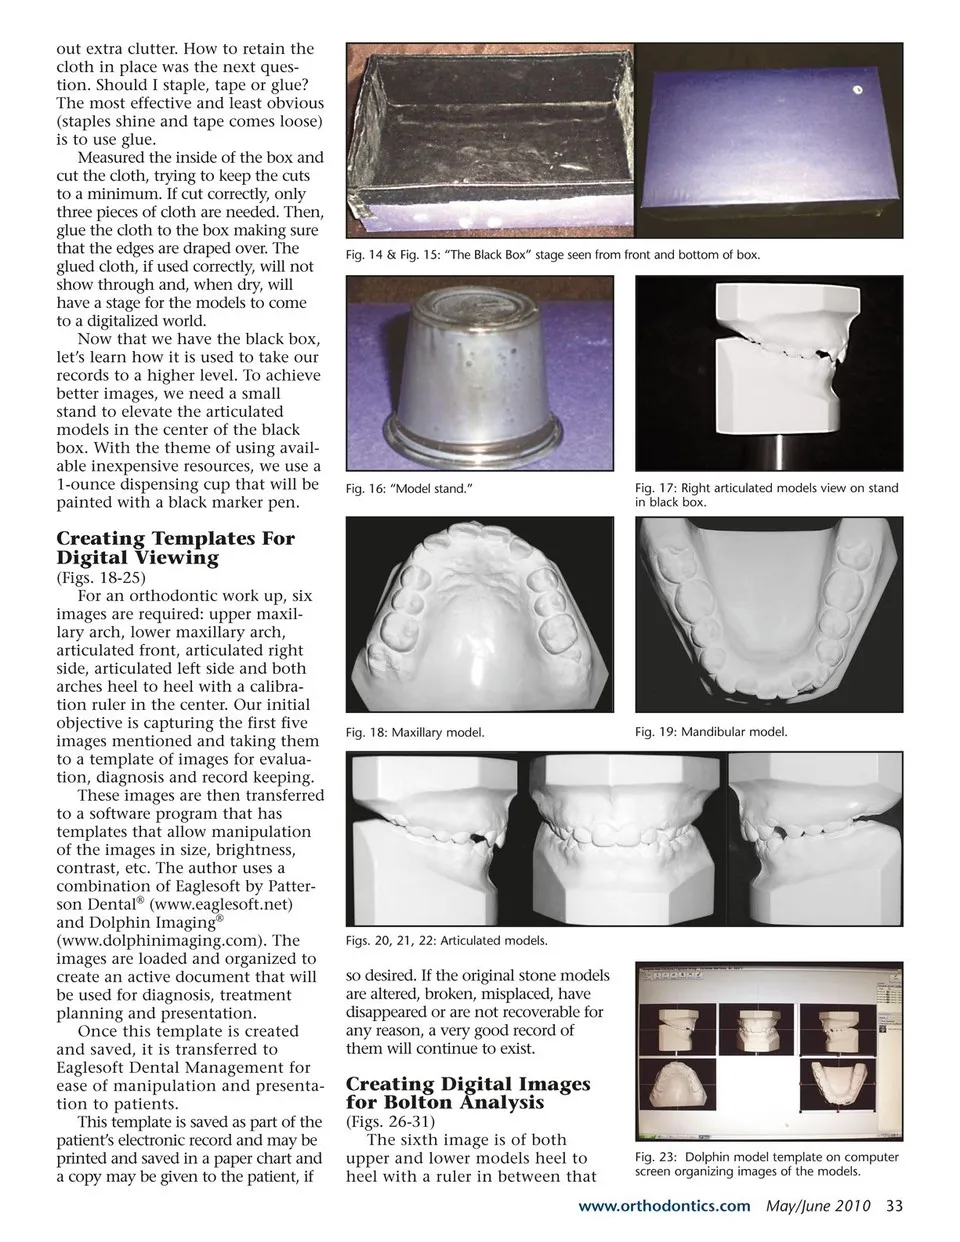
out extra clutter. How to retain the cloth in place was the next ques- tion. Should I staple, tape or glue? The most effective and least obvious (staples shine and tape comes loose) is to use glue. Measured the inside of the box and cut the cloth, trying to keep the cuts to a minimum. If cut correctly, only three pieces of cloth are needed. Then, glue the cloth to the box making sure that the edges are draped over. The glued cloth, if used correctly, will not show through and, when dry, will have a stage for the models to come to a digitalized world. Now that we have the black box, let’s learn how it is used to take our records to a higher level. To achieve better images, we need a small stand to elevate the articulated models in the center of the black box. With the theme of using avail- able inexpensive resources, we use a 1-ounce dispensing cup that will be painted with a black marker pen. Creating Templates For Digital Viewing (Figs. 18-25) For an orthodontic work up, six images are required: upper maxil- lary arch, lower maxillary arch, articulated front, articulated right side, articulated left side and both arches heel to heel with a calibra- tion ruler in the center. Our initial objective is capturing the first five images mentioned and taking them to a template of images for evalua- tion, diagnosis and record keeping. These images are then transferred to a software program that has templates that allow manipulation of the images in size, brightness, contrast, etc. The author uses a combination of Eaglesoft by Patter- son Dental® (www.eaglesoft.net) and Dolphin Imaging® (www.dolphinimaging.com). The images are loaded and organized to create an active document that will be used for diagnosis, treatment planning and presentation. Once this template is created and saved, it is transferred to Eaglesoft Dental Management for ease of manipulation and presenta- tion to patients. This template is saved as part of the patient’s electronic record and may be printed and saved in a paper chart and a copy may be given to the patient, if Fig. 14 & Fig. 15: “The Black Box” stage seen from front and bottom of box. Fig. 16: “Model stand.” Fig. 17: Right articulated models view on stand in black box. Fig. 18: Maxillary model. Fig. 19: Mandibular model. Figs. 20, 21, 22: Articulated models. so desired. If the original stone models are altered, broken, misplaced, have disappeared or are not recoverable for any reason, a very good record of them will continue to exist. Creating Digital Images for Bolton Analysis (Figs. 26-31) The sixth image is of both upper and lower models heel to heel with a ruler in between that Fig. 23: Dolphin model template on computer screen organizing images of the models. www.orthodontics.com May/June 2010 33
Journal of the American Orthodontic Society May-June 2010: Page 33