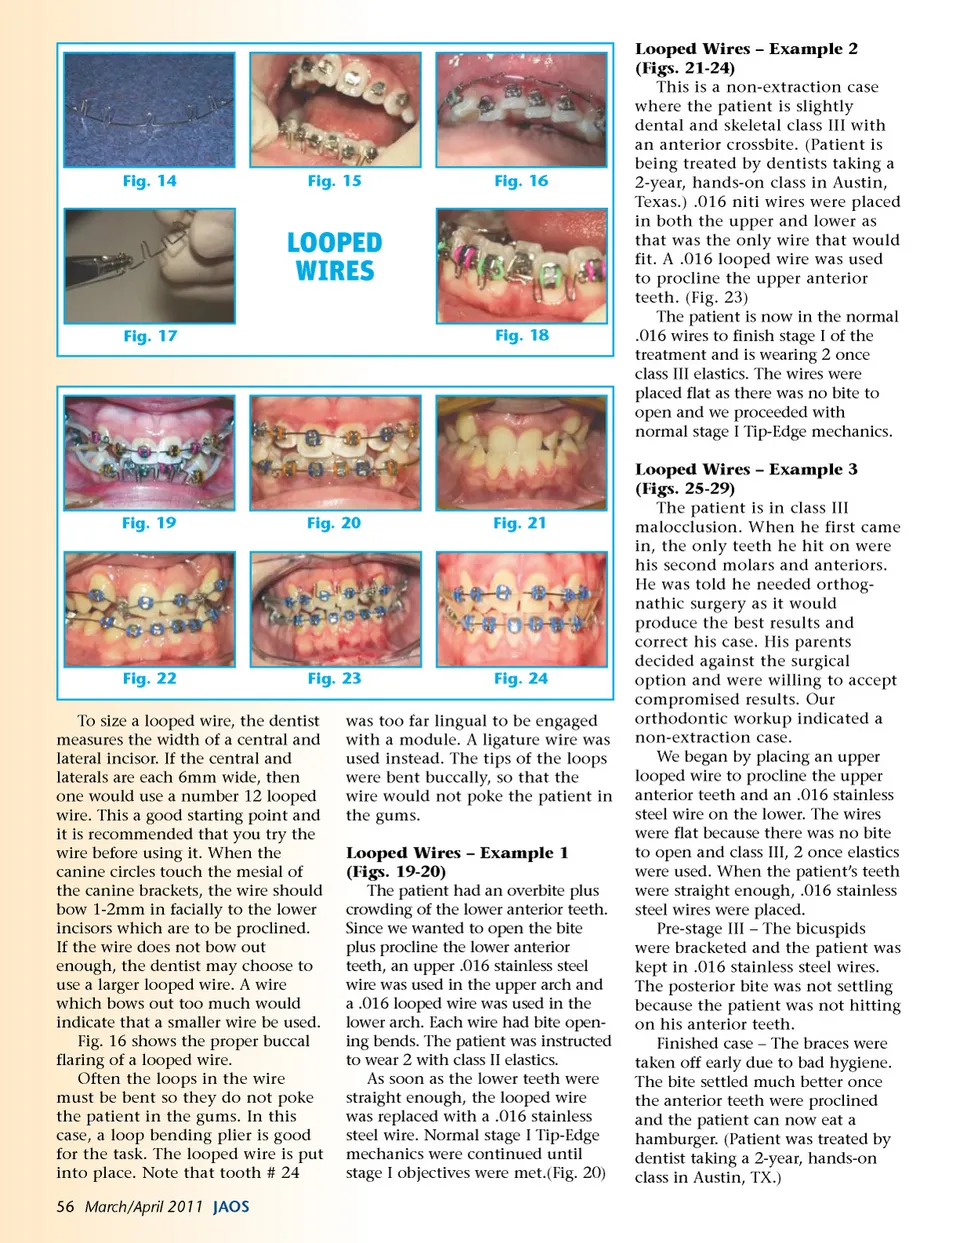
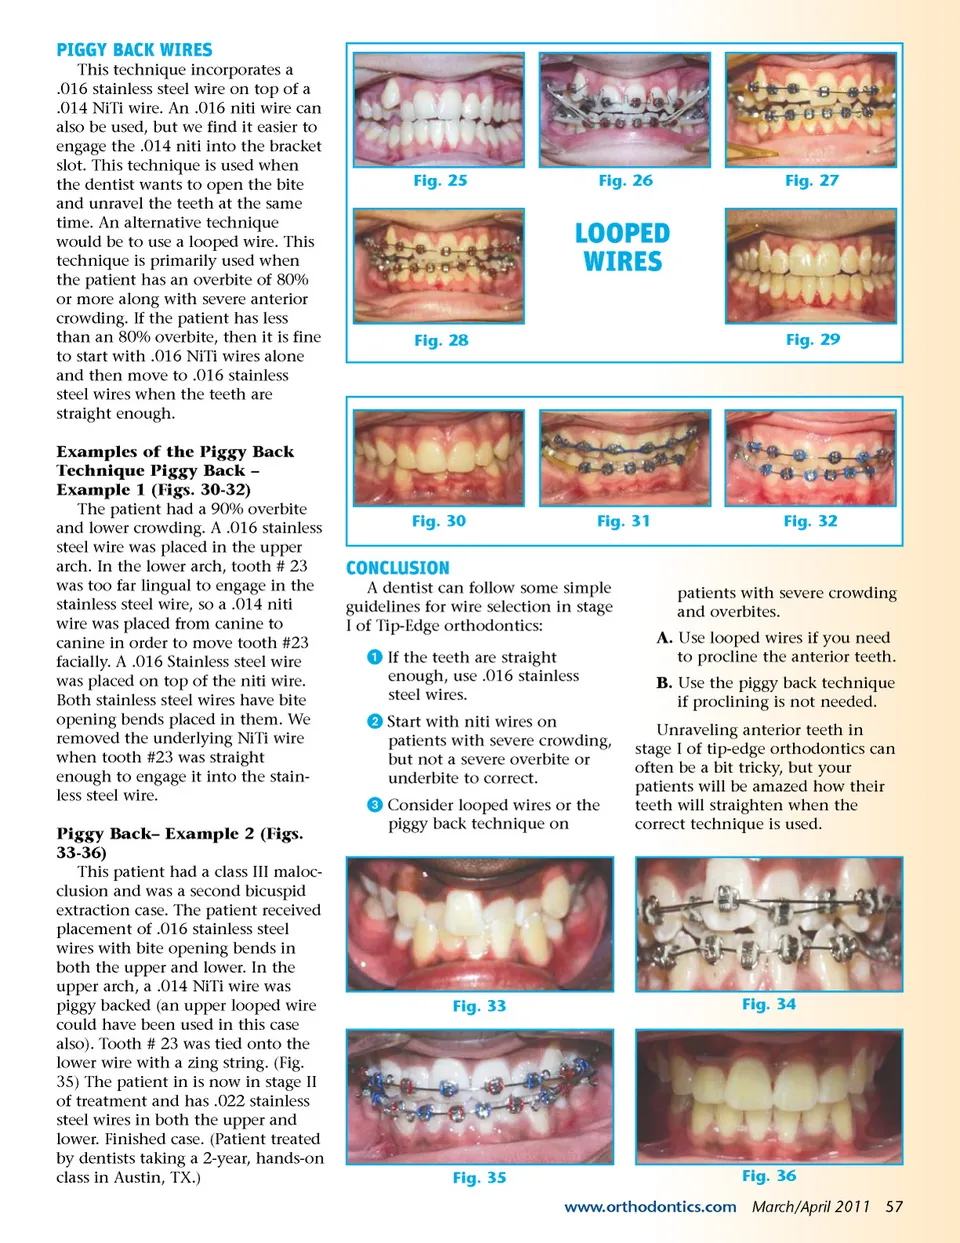
Fig. 14 Fig. 15 Fig. 16 LOOPED WIRES Fig. 17 Fig. 18 Looped Wires – Example 2 (Figs. 21-24) This is a non-extraction case where the patient is slightly dental and skeletal class III with an anterior crossbite. (Patient is being treated by dentists taking a 2-year, hands-on class in Austin, Texas.) .016 niti wires were placed in both the upper and lower as that was the only wire that would fit. A .016 looped wire was used to procline the upper anterior teeth. (Fig. 23) The patient is now in the normal .016 wires to finish stage I of the treatment and is wearing 2 once class III elastics. The wires were placed flat as there was no bite to open and we proceeded with normal stage I Tip-Edge mechanics. Looped Wires – Example 3 (Figs. 25-29) The patient is in class III malocclusion. When he first came in, the only teeth he hit on were his second molars and anteriors. He was told he needed orthog-nathic surgery as it would produce the best results and correct his case. His parents decided against the surgical option and were willing to accept compromised results. Our orthodontic workup indicated a non-extraction case. We began by placing an upper looped wire to procline the upper anterior teeth and an .016 stainless steel wire on the lower. The wires were flat because there was no bite to open and class III, 2 once elastics were used. When the patient’s teeth were straight enough, .016 stainless steel wires were placed. Pre-stage III – The bicuspids were bracketed and the patient was kept in .016 stainless steel wires. The posterior bite was not settling because the patient was not hitting on his anterior teeth. Finished case – The braces were taken off early due to bad hygiene. The bite settled much better once the anterior teeth were proclined and the patient can now eat a hamburger. (Patient was treated by dentist taking a 2-year, hands-on class in Austin, TX.) Fig. 19 Fig. 20 Fig. 21 Fig. 22 Fig. 23 Fig. 24 To size a looped wire, the dentist measures the width of a central and lateral incisor. If the central and laterals are each 6mm wide, then one would use a number 12 looped wire. This a good starting point and it is recommended that you try the wire before using it. When the canine circles touch the mesial of the canine brackets, the wire should bow 1-2mm in facially to the lower incisors which are to be proclined. If the wire does not bow out enough, the dentist may choose to use a larger looped wire. A wire which bows out too much would indicate that a smaller wire be used. Fig. 16 shows the proper buccal flaring of a looped wire. Often the loops in the wire must be bent so they do not poke the patient in the gums. In this case, a loop bending plier is good for the task. The looped wire is put into place. Note that tooth # 24 56 March/April 2011 JAOS was too far lingual to be engaged with a module. A ligature wire was used instead. The tips of the loops were bent buccally, so that the wire would not poke the patient in the gums. Looped Wires – Example 1 (Figs. 19-20) The patient had an overbite plus crowding of the lower anterior teeth. Since we wanted to open the bite plus procline the lower anterior teeth, an upper .016 stainless steel wire was used in the upper arch and a .016 looped wire was used in the lower arch. Each wire had bite open-ing bends. The patient was instructed to wear 2 with class II elastics. As soon as the lower teeth were straight enough, the looped wire was replaced with a .016 stainless steel wire. Normal stage I Tip-Edge mechanics were continued until stage I objectives were met.(Fig. 20)
Journal of the American Orthodontic Society March-April 2011: Page 56