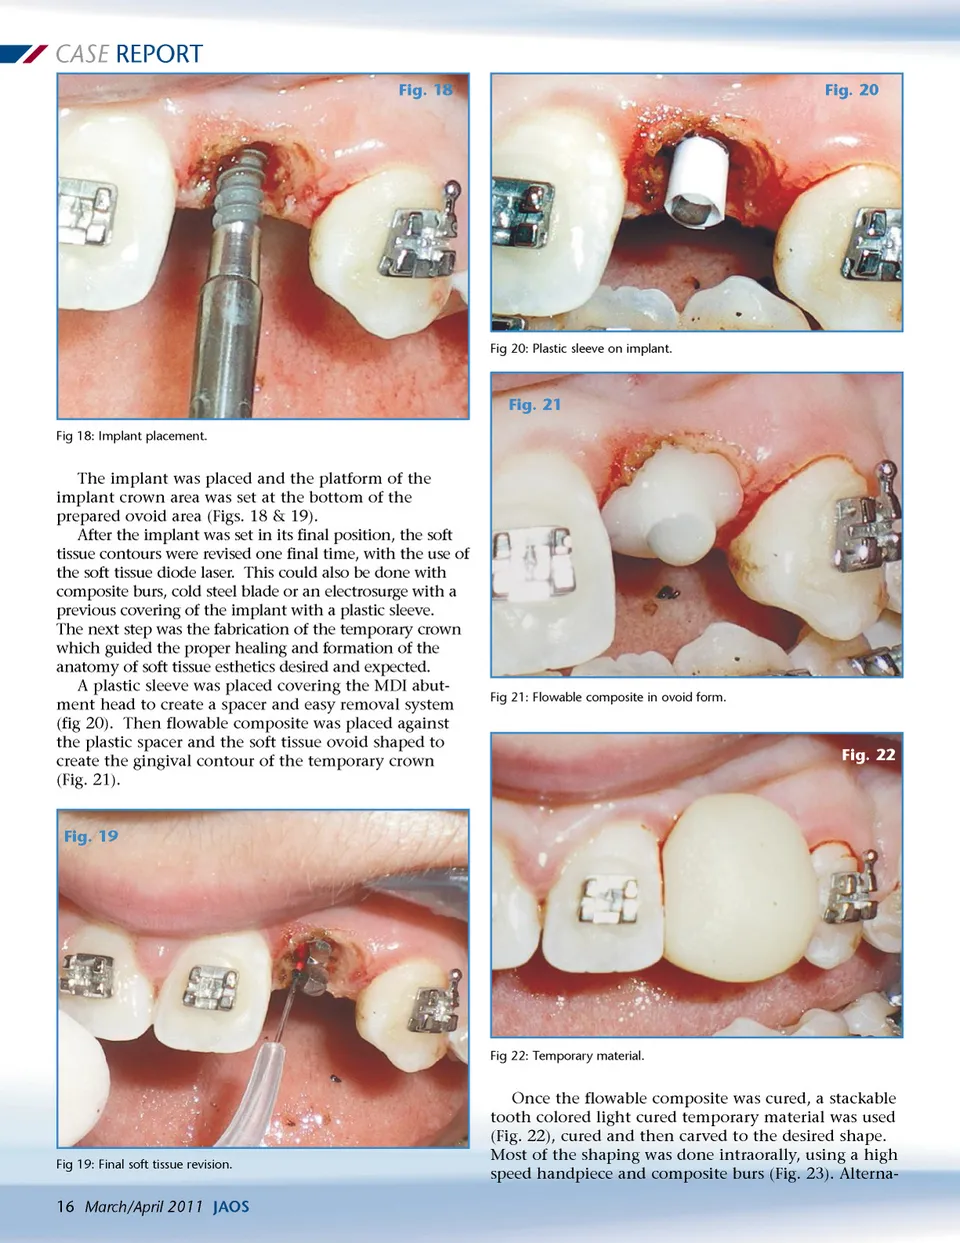
CASE REPORT Fig. 18 Fig. 20 Fig 20: Plastic sleeve on implant. Fig. 21 Fig 18: Implant placement. The implant was placed and the platform of the implant crown area was set at the bottom of the prepared ovoid area (Figs. 18 & 19). After the implant was set in its final position, the soft tissue contours were revised one final time, with the use of the soft tissue diode laser. This could also be done with composite burs, cold steel blade or an electrosurge with a previous covering of the implant with a plastic sleeve. The next step was the fabrication of the temporary crown which guided the proper healing and formation of the anatomy of soft tissue esthetics desired and expected. A plastic sleeve was placed covering the MDI abut-ment head to create a spacer and easy removal system (fig 20). Then flowable composite was placed against the plastic spacer and the soft tissue ovoid shaped to create the gingival contour of the temporary crown (Fig. 21). Fig 21: Flowable composite in ovoid form. Fig. 22 Fig. 19 Fig 22: Temporary material. Fig 19: Final soft tissue revision. Once the flowable composite was cured, a stackable tooth colored light cured temporary material was used (Fig. 22), cured and then carved to the desired shape. Most of the shaping was done intraorally, using a high speed handpiece and composite burs (Fig. 23). Alterna-16 March/April 2011 JAOS
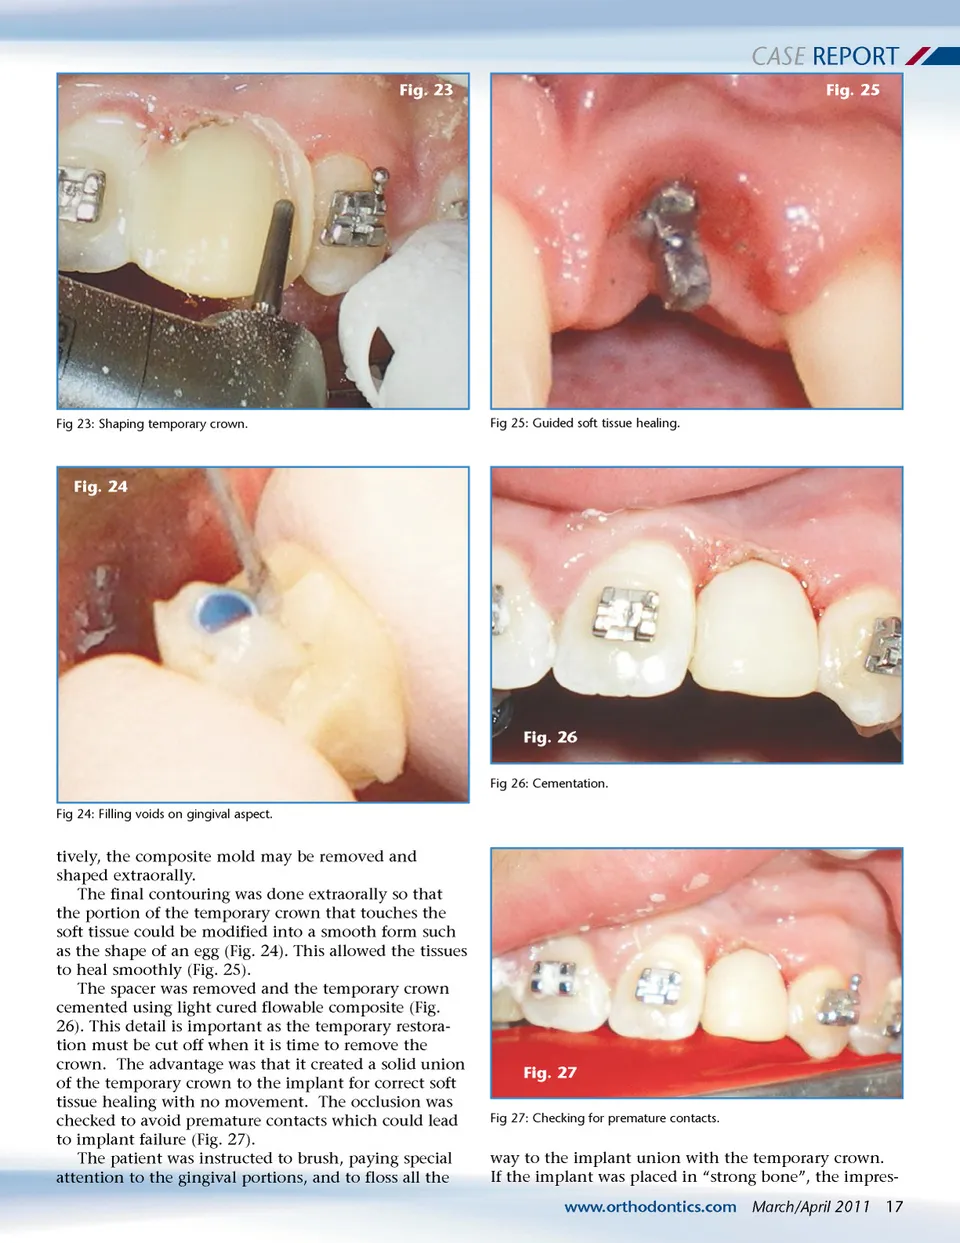
Journal of the American Orthodontic Society March-April 2011: Page 16