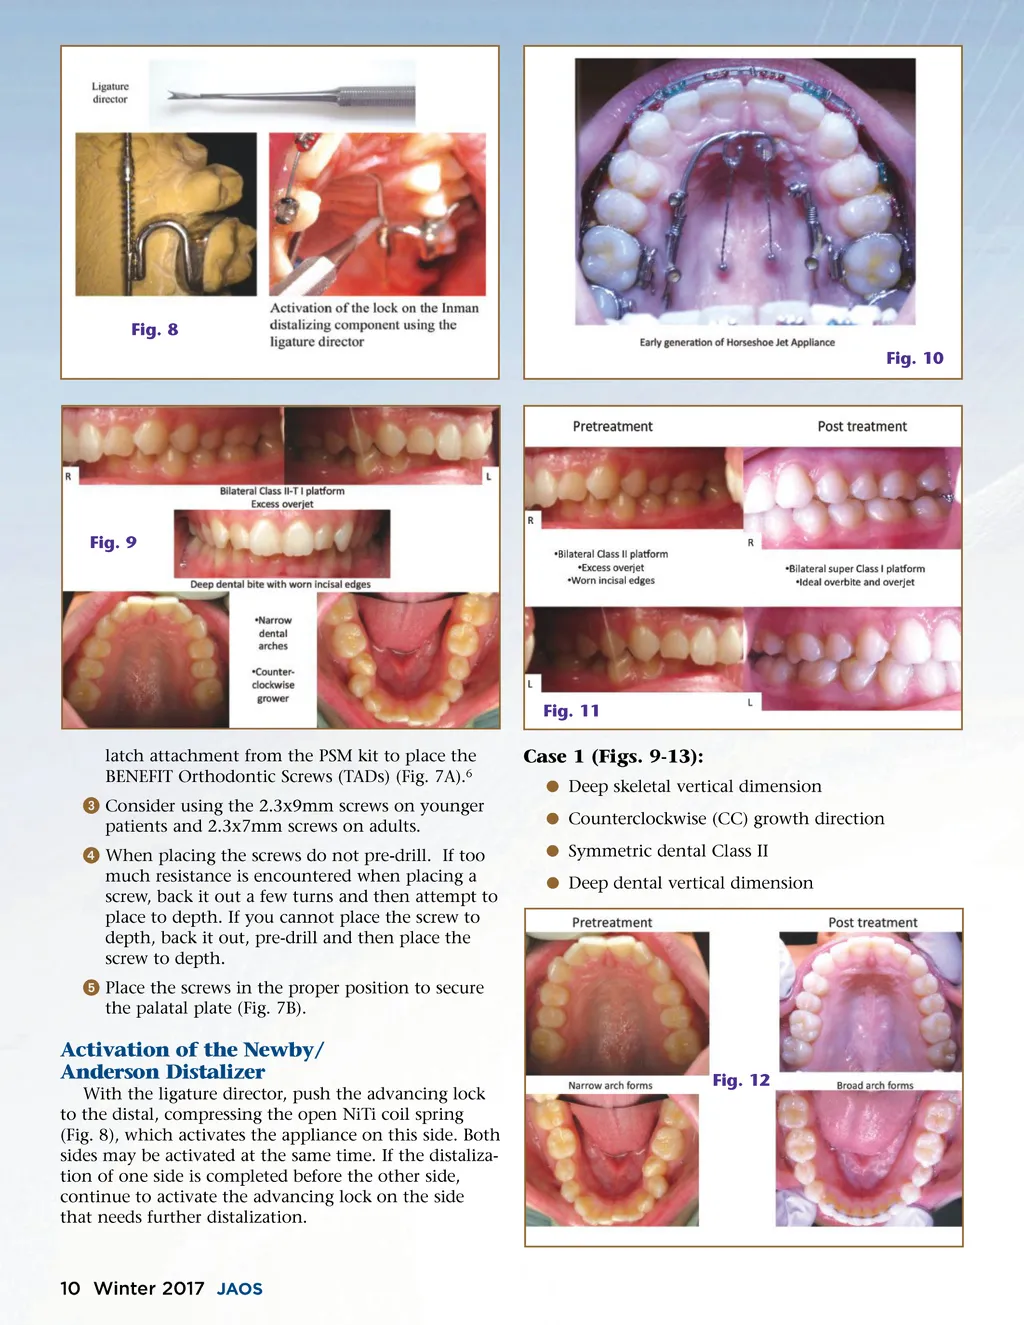
Fig. 8 Fig. 10 Fig. 9 Fig. 11 latch attachment from the PSM kit to place the BENEFIT Orthodontic Screws (TADs) (Fig. 7A). 6 ᕣ Consider using the 2.3x9mm screws on younger patients and 2.3x7mm screws on adults. ᕤ When placing the screws do not pre-drill. If too much resistance is encountered when placing a screw, back it out a few turns and then attempt to place to depth. If you cannot place the screw to depth, back it out, pre-drill and then place the screw to depth. ᕥ Place the screws in the proper position to secure the palatal plate (Fig. 7B). Case 1 (Figs. 9-13): b Deep skeletal vertical dimension b Counterclockwise (CC) growth direction b Symmetric dental Class II b Deep dental vertical dimension Activation of the Newby/ Anderson Distalizer With the ligature director, push the advancing lock to the distal, compressing the open NiTi coil spring (Fig. 8), which activates the appliance on this side. Both sides may be activated at the same time. If the distaliza-tion of one side is completed before the other side, continue to activate the advancing lock on the side that needs further distalization. Fig. 12 10 Winter 2017 JAOS
Journal of the American Orthodontic Society Winter 2017: Page 10