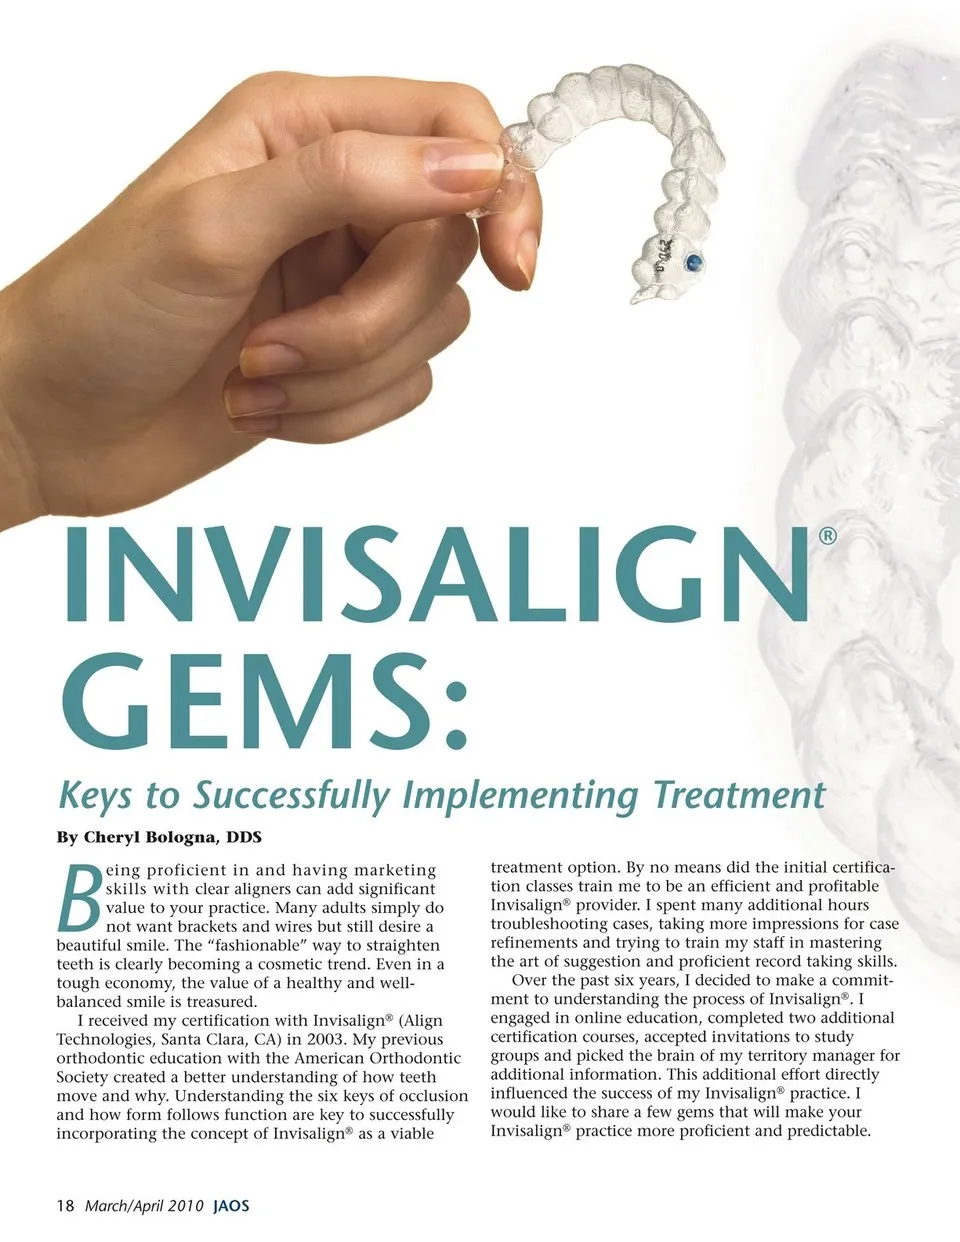
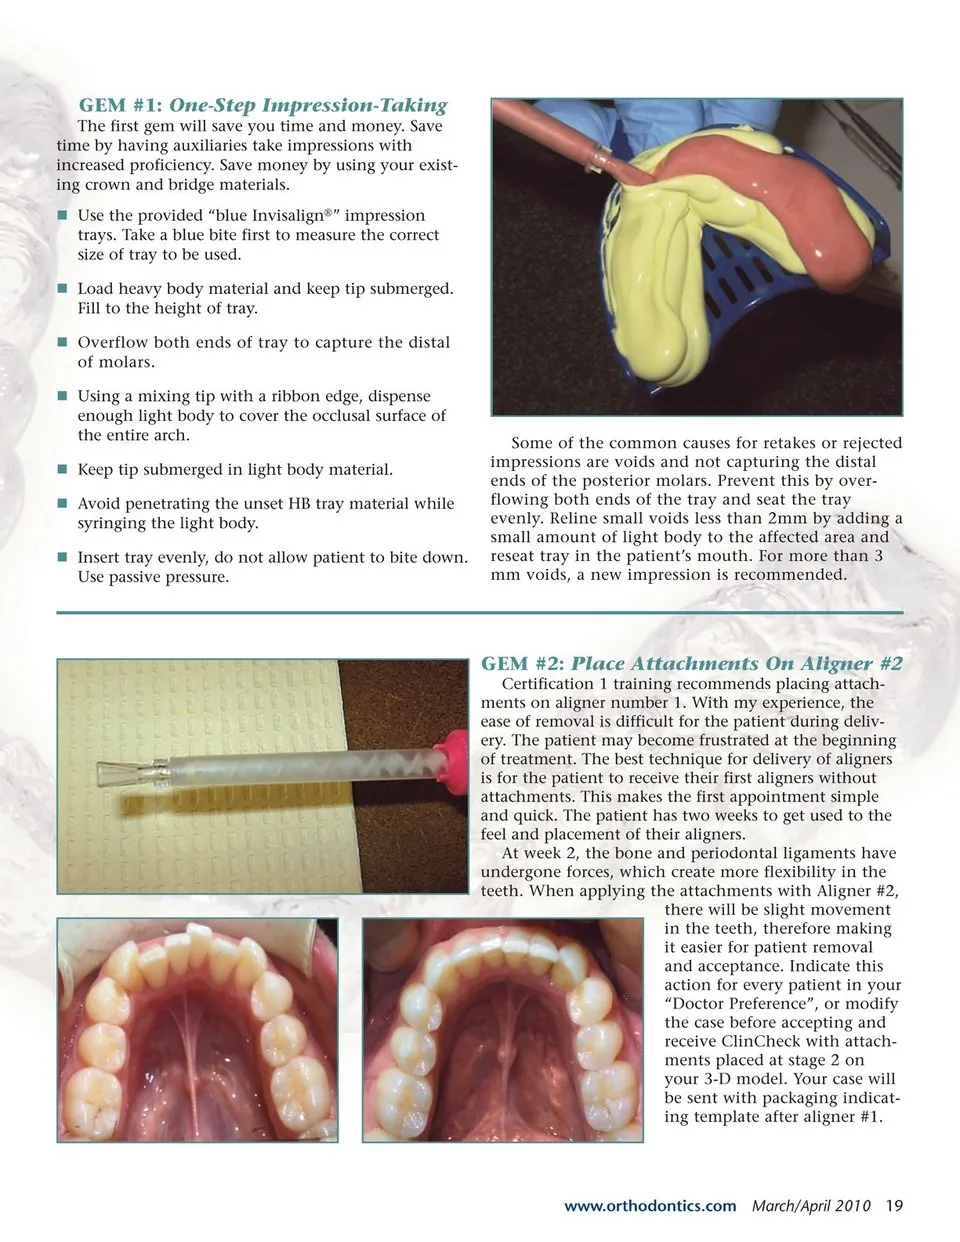
GEM #1: One-Step Impression-Taking The first gem will save you time and money. Save time by having auxiliaries take impressions with increased proficiency. Save money by using your exist- ing crown and bridge materials. n Use the provided “blue Invisalign®” impression trays. Take a blue bite first to measure the correct size of tray to be used. n Load heavy body material and keep tip submerged. Fill to the height of tray. n Overflow both ends of tray to capture the distal of molars. n Using a mixing tip with a ribbon edge, dispense enough light body to cover the occlusal surface of the entire arch. n Keep tip submerged in light body material. n Avoid penetrating the unset HB tray material while syringing the light body. n Insert tray evenly, do not allow patient to bite down. Use passive pressure. Some of the common causes for retakes or rejected impressions are voids and not capturing the distal ends of the posterior molars. Prevent this by over- flowing both ends of the tray and seat the tray evenly. Reline small voids less than 2mm by adding a small amount of light body to the affected area and reseat tray in the patient’s mouth. For more than 3 mm voids, a new impression is recommended. GEM #2: Place Attachments On Aligner #2 Certification 1 training recommends placing attach- ments on aligner number 1. With my experience, the ease of removal is difficult for the patient during deliv- ery. The patient may become frustrated at the beginning of treatment. The best technique for delivery of aligners is for the patient to receive their first aligners without attachments. This makes the first appointment simple and quick. The patient has two weeks to get used to the feel and placement of their aligners. At week 2, the bone and periodontal ligaments have undergone forces, which create more flexibility in the teeth. When applying the attachments with Aligner #2, there will be slight movement in the teeth, therefore making it easier for patient removal and acceptance. Indicate this action for every patient in your “Doctor Preference”, or modify the case before accepting and receive ClinCheck with attach- ments placed at stage 2 on your 3-D model. Your case will be sent with packaging indicat- ing template after aligner #1. www.orthodontics.com March/April 2010 19
Journal of the American Orthodontic Society March - April 2010: Page 19